Congratulations on making it this far in your journey to become a U.S. citizen! Once you’ve filed Form N-400 and completed your biometrics appointment, the next major milestone is the naturalization interview. Many applicants find this step both exciting and stressful. After all, you’ll be meeting with a U.S. Citizenship and Immigration Services (USCIS) officer who will determine if you meet all the eligibility requirements for U.S. citizenship.
But there’s no need to panic. With the right preparation and a good understanding of what lies ahead, you can walk into your interview feeling confident and well-prepared. In this guide, we’ll break down every aspect of the naturalization interview process—from the moment you receive your appointment notice to the kinds of questions you might face and the English and civics test requirements. Along the way, we’ll offer soft calls to action to contact Occam Immigration if you need personalized legal assistance.
Why the Naturalization Interview Matters
The naturalization interview is a critical step in confirming that you:
- Meet All Legal Requirements: USCIS wants to verify your continuous residence, physical presence, good moral character, and lawful permanent resident status.
- Can Communicate in English: Unless exempt, you must show you can speak, read, and write basic English.
- Understand U.S. History and Government: Passing the civics test ensures you have foundational knowledge about the nation you’re about to fully join.
If you pass the interview and all other requirements are met, you’ll likely be scheduled for your Oath of Allegiance ceremony soon after—your final step before officially becoming a U.S. citizen.
Your Appointment Notice: When and Where It Happens
Receiving the Interview Notice
After you submit Form N-400 and complete biometrics, you’ll receive a notice in the mail (Form I-797) stating the date, time, and location of your interview. This is usually sent several weeks in advance, giving you time to gather your documents and prepare.
- Pay Close Attention to the Date: Rescheduling can delay your case significantly, so it’s best to keep the appointment as scheduled.
- Check for Mistakes: If you notice errors like your name being misspelled or an incorrect address, contact USCIS immediately.
Where Interviews Usually Take Place
Most interviews occur at a USCIS field office near your registered address. If you’ve moved recently, make sure you’ve updated your address with USCIS (using Form AR-11) to avoid missing your notice or being scheduled in the wrong jurisdiction.
What If You Need to Reschedule?
Life happens—sometimes you’re sick, or there’s an unavoidable conflict on the interview day. If you absolutely cannot attend:
- Contact USCIS Immediately: Call the USCIS Contact Center (1-800-375-5283) or follow the instructions on your interview notice about rescheduling.
- Document the Reason: You may need to provide proof, such as a doctor’s note or travel documents.
However, it’s strongly recommended to keep your original date if at all possible. Rescheduling can push your naturalization process back by several months.
Documents and Items to Bring
Mandatory Items
At a minimum, you’ll need:
- Green Card (Permanent Resident Card, Form I-551).
- Appointment Notice (Form I-797C).
- Passport(s): Current passport and any expired passports that have U.S. travel stamps.
- State-Issued ID: Such as a driver’s license or state ID.
Additional Supporting Documentation
Depending on your application details, USCIS might want to see more:
- Marriage and Divorce Certificates: If you’re applying based on marriage to a U.S. citizen, or if your marital status has changed.
- Proof of Terminated Prior Marriages: Divorce decrees or annulments for any previous marriages, if applicable.
- Recent Tax Returns: USCIS often reviews your financial history to verify good moral character and continuous residence.
- Travel Records: If you’ve traveled outside the U.S. multiple times, bring documents proving the dates you left and returned.
- Selective Service Registration: If you’re a male applicant of certain age ranges who lived in the U.S. at specific periods.
- Evidence of Legal Name Changes: Court orders or updated ID documents if you changed your name.
The Day of the Interview: What to Expect
Security Checkpoint
When you arrive at the USCIS field office, you’ll go through a security screening. Expect to remove belts, jackets, and bags for inspection, similar to airport security.
Checking In
- Appointment Letter: Show the officer at the reception desk your interview notice and a photo ID.
- Waiting Area: You’ll likely wait until a USCIS officer calls your name. Use this time to mentally review key points or final details.
Meeting the USCIS Officer
An immigration officer will escort you to a private office or cubicle for the interview. They’ll ask you to stand and swear to tell the truth under oath. The officer may be in uniform or business attire; don’t be intimidated—approach them respectfully and remain calm.
The Interview Process in Detail
Review of Your Application (Form N-400)
The USCIS officer will go through your Form N-400 line by line to confirm everything is accurate and up to date. Areas they typically focus on:
- Personal Information: Name, address, date of birth.
- Travel History: Length of trips outside the U.S. and how often you traveled.
- Marital Status and Family Details: Number of children, spouse’s citizenship status.
- Employment and Residency: Work history and proof of continuous residence in the U.S.
- Legal History: Any arrests, citations, or convictions you listed (or failed to list).
Be prepared to answer clarifying questions—especially if you have extensive travel or a complex immigration or legal history.
Updates or Changes
If anything changed since you filed your N-400 (like a new address, a child was born, or you got married), tell the officer immediately. Provide supporting documents (e.g., marriage certificate, new lease) to show the update.
English Language Proficiency
If you’re not exempt due to age or certain medical conditions:
- Speaking: The officer will assess your ability to understand and respond to questions in English.
- Reading: You’ll usually be asked to read a simple sentence in English, such as “When is Independence Day?”
- Writing: You may have to write a short sentence in English, for example, “The White House is in Washington, D.C.”
Most of these sentences are basic and revolve around U.S. civics.
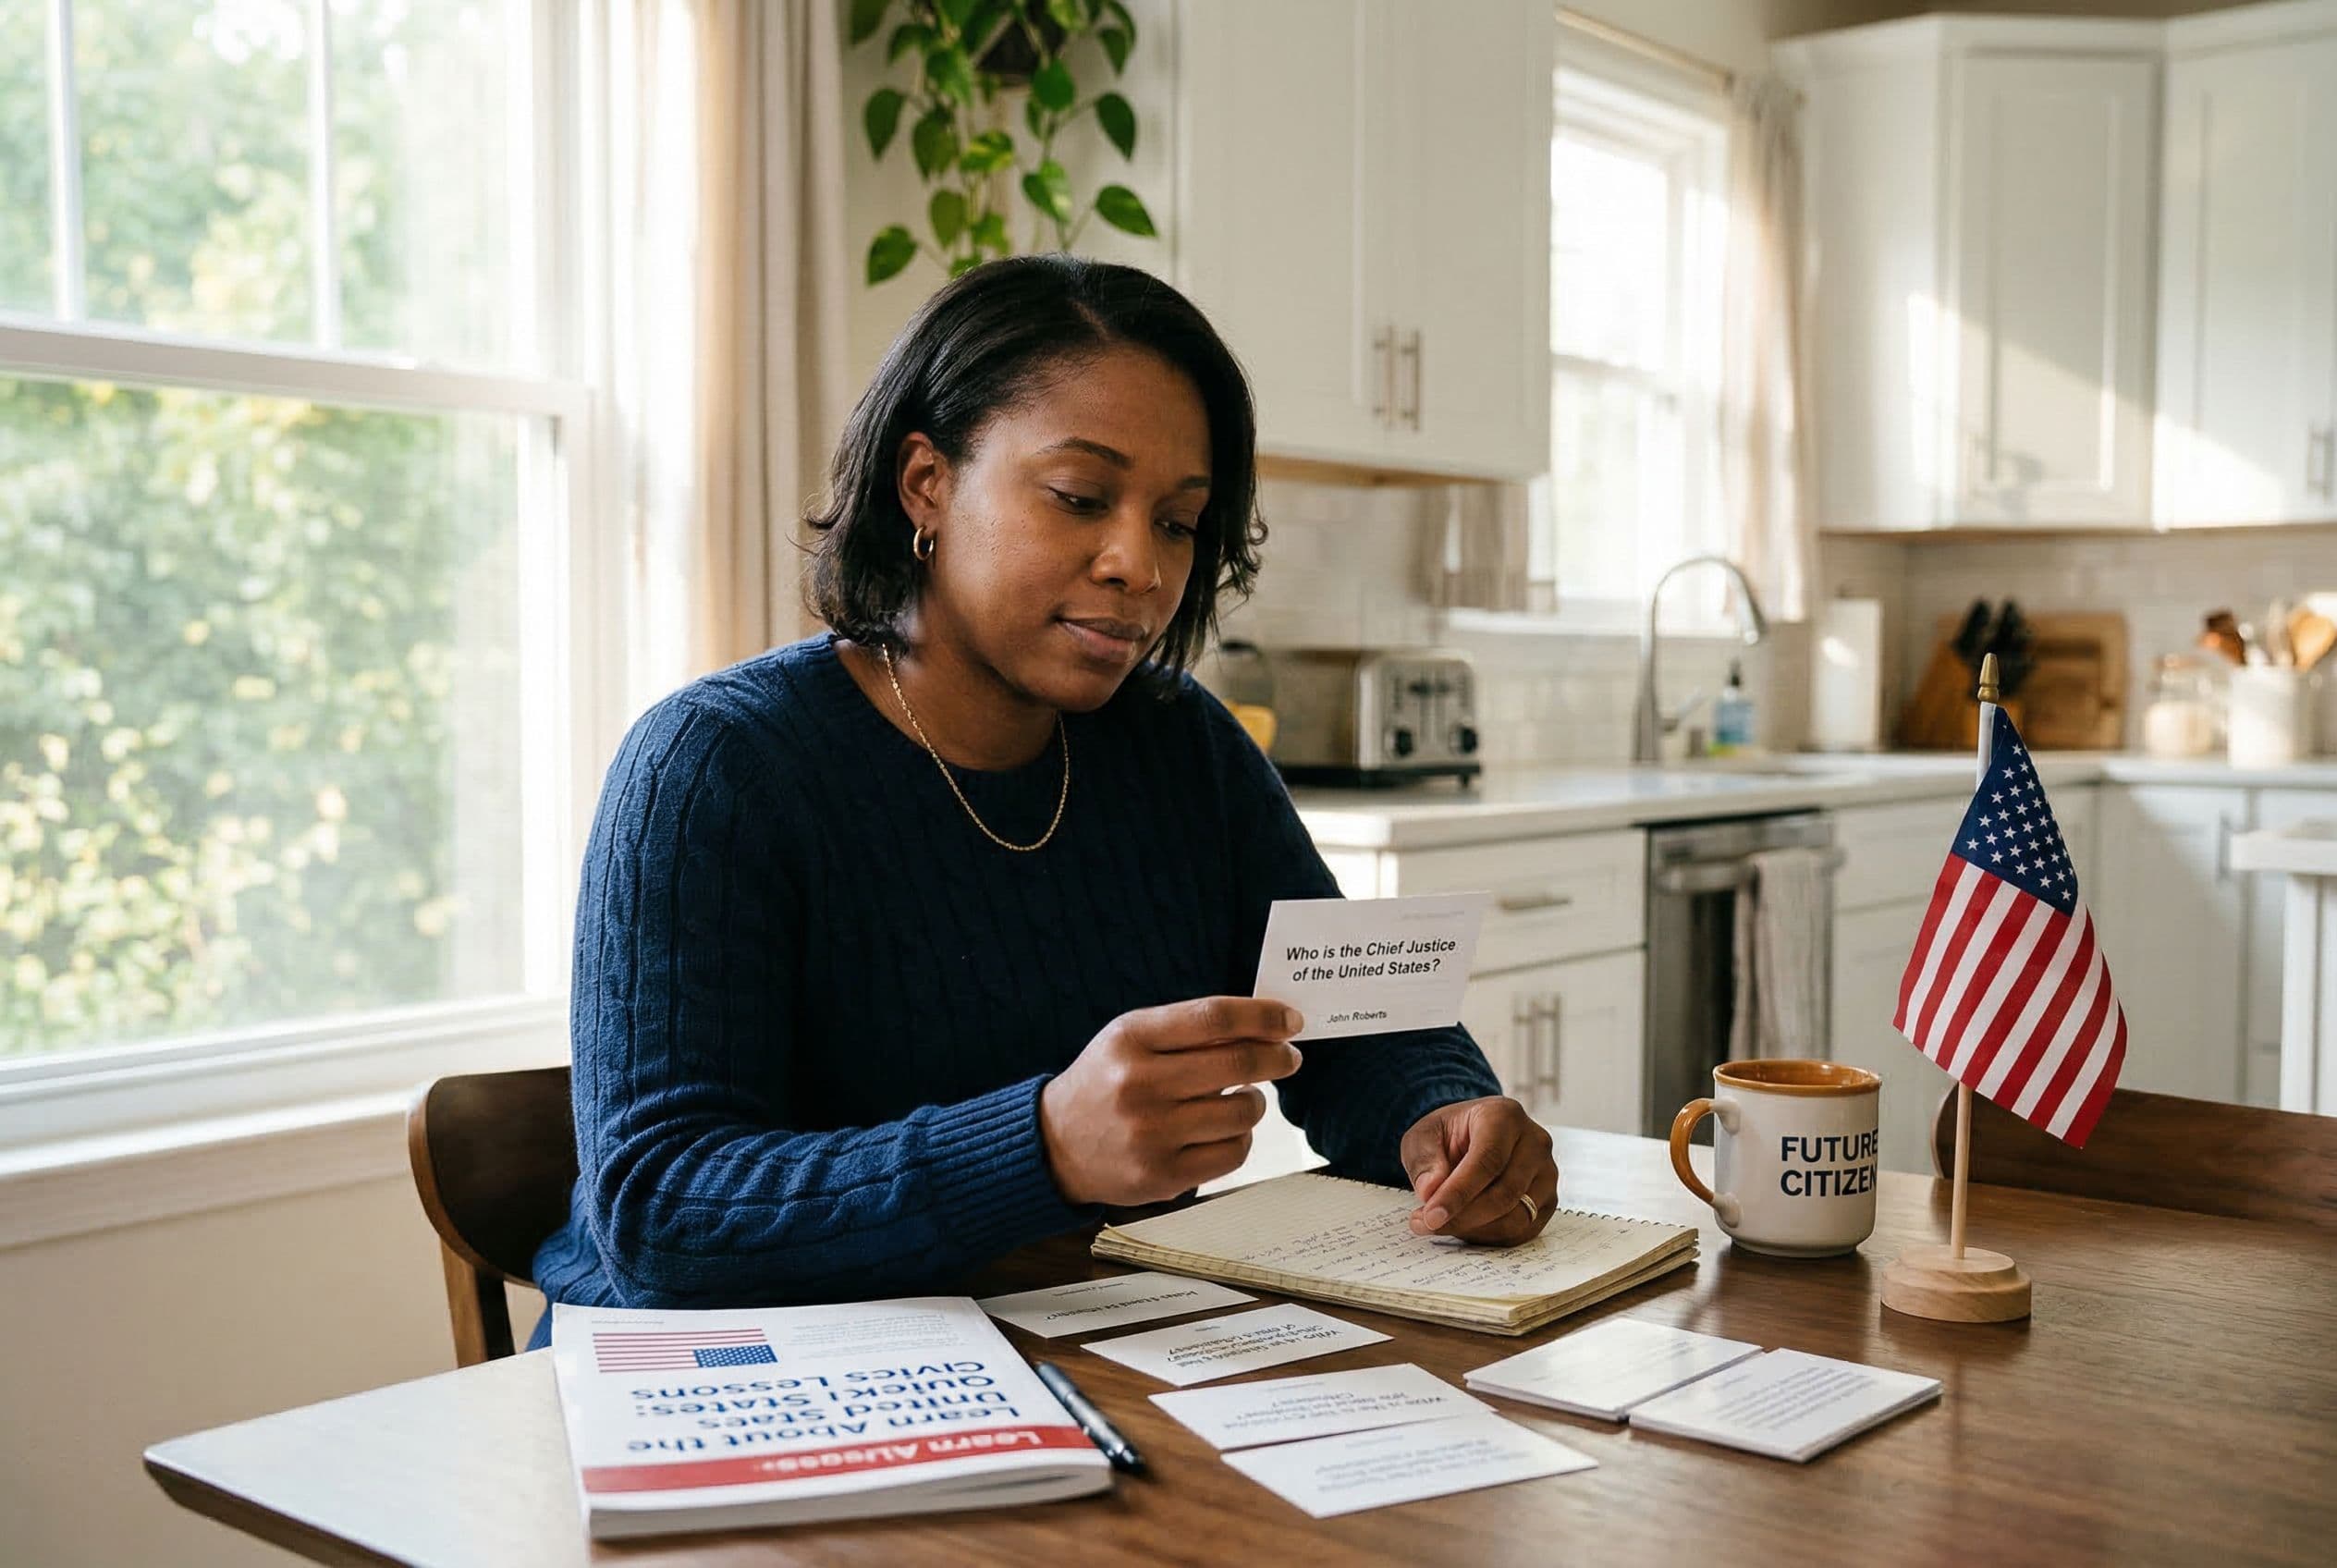
Civics Test: What You Need to Know
Format of the Civics Test
The civics test has up to 10 questions taken from a pool of 100 possible questions (or 128, if you took the 2020 version before its revision). You need to get at least 6 correct answers (for the 100-question version) to pass.
- Oral Test: The officer will ask questions aloud, and you’ll provide oral responses.
- Common Topics: U.S. history (like the Revolutionary War, Civil War), government structure, rights and responsibilities of citizens, etc.
Study Tips
- Official Study Materials: USCIS provides flashcards, practice questions, and videos on their website.
- Keep Updated: Certain answers (like the names of elected officials) may change after elections.
- Practice Out Loud: Since you’ll answer verbally, practicing with friends or family can help you get comfortable speaking about civics topics.
Common Interview Questions and How to Answer Them
While every interview is unique, here are some frequent questions USCIS officers ask—and tips on how to respond.
- “Why Do You Want to Become a U.S. Citizen?”
- Tip: Share honest, personal reasons (e.g., love for the country, desire to vote, career opportunities).
- “Have You Ever Claimed to Be a U.S. Citizen?”
- Tip: Answer truthfully. Claiming to be a citizen falsely (like on a job application) can lead to denial. If you’re unsure about a past mistake, consult an attorney.
- “Have You Filed All Required Tax Returns?”
- Tip: USCIS checks for tax compliance. Bring proof of recent filings or payment arrangements if you owe back taxes.
- “Have You Ever Been Arrested or Cited?”
- Tip: Don’t hide it. Even small citations or arrests that didn’t lead to a conviction should be disclosed. Provide any court documents that show the case outcome.
- “Do You Support the Constitution and Form of Government of the U.S.?”
- Tip: Your answer should be a clear “yes.” This question tests your willingness to uphold the principles of the United States.
Remember: The officer’s goal is to confirm that all the information on your application is accurate and that you meet the legal requirements to naturalize. Being honest and transparent is the best approach.
Possible Interview Outcomes
Approval
If everything goes smoothly—you pass the English and civics test, and the officer is satisfied with your application—the officer may recommend approval right away. You might even receive a notice for your Oath of Allegiance ceremony on the same day, though often you’ll get it in the mail later.
Continuation (Form N-14 Request for Evidence)
Sometimes the officer can’t make an immediate decision. They may issue a Form N-14, asking you to provide additional documents or clarify information. You’ll have a specific deadline to submit these items. Failing to meet the deadline can lead to denial.
Denial
If the officer finds a significant issue—like incomplete continuous residence, a criminal matter, or false statements in your application—your case may be denied. You’ll receive a notice explaining why, along with instructions on how to appeal or re-file if possible.
Preparing for Success: Tips and Best Practices
Review Your Application Thoroughly
Go through Form N-400 before your interview, and note any changes that may have happened since you filed. Make a list of clarifications or updates you need to tell the officer.
Practice English and Civics
Even confident English speakers can get nervous. Practice reading and writing sample sentences, and rehearse common civics questions. A little preparation can go a long way in easing interview jitters.
Dress Professionally
You don’t need to wear a suit, but aim for neat, clean, and modest attire. First impressions matter, and dressing professionally shows respect for the process.
Arrive Early
Plan your route and aim to arrive at least 15 minutes before your scheduled time. This gives you a buffer if there’s traffic or if you need to find parking.
Stay Calm and Polite
Remain courteous, use polite language, and avoid arguing with the officer. If you don’t understand a question, politely ask for clarification. If you don’t know an answer, say so rather than guessing or fabricating information.