
Almost every USCIS application requires passport-style photos. And almost every week, I see someone submit photos that don’t meet the requirements — which means we have to go back, retake them, and lose time. It’s one of those small details that shouldn’t slow your case down, but it does if you’re not prepared.
To save our clients time and money, we prepare and print passport-style photos right here in our office and attach them to your application. All we need from you is a digital photo that meets a few basic guidelines. This post will walk you through exactly what you need to do.
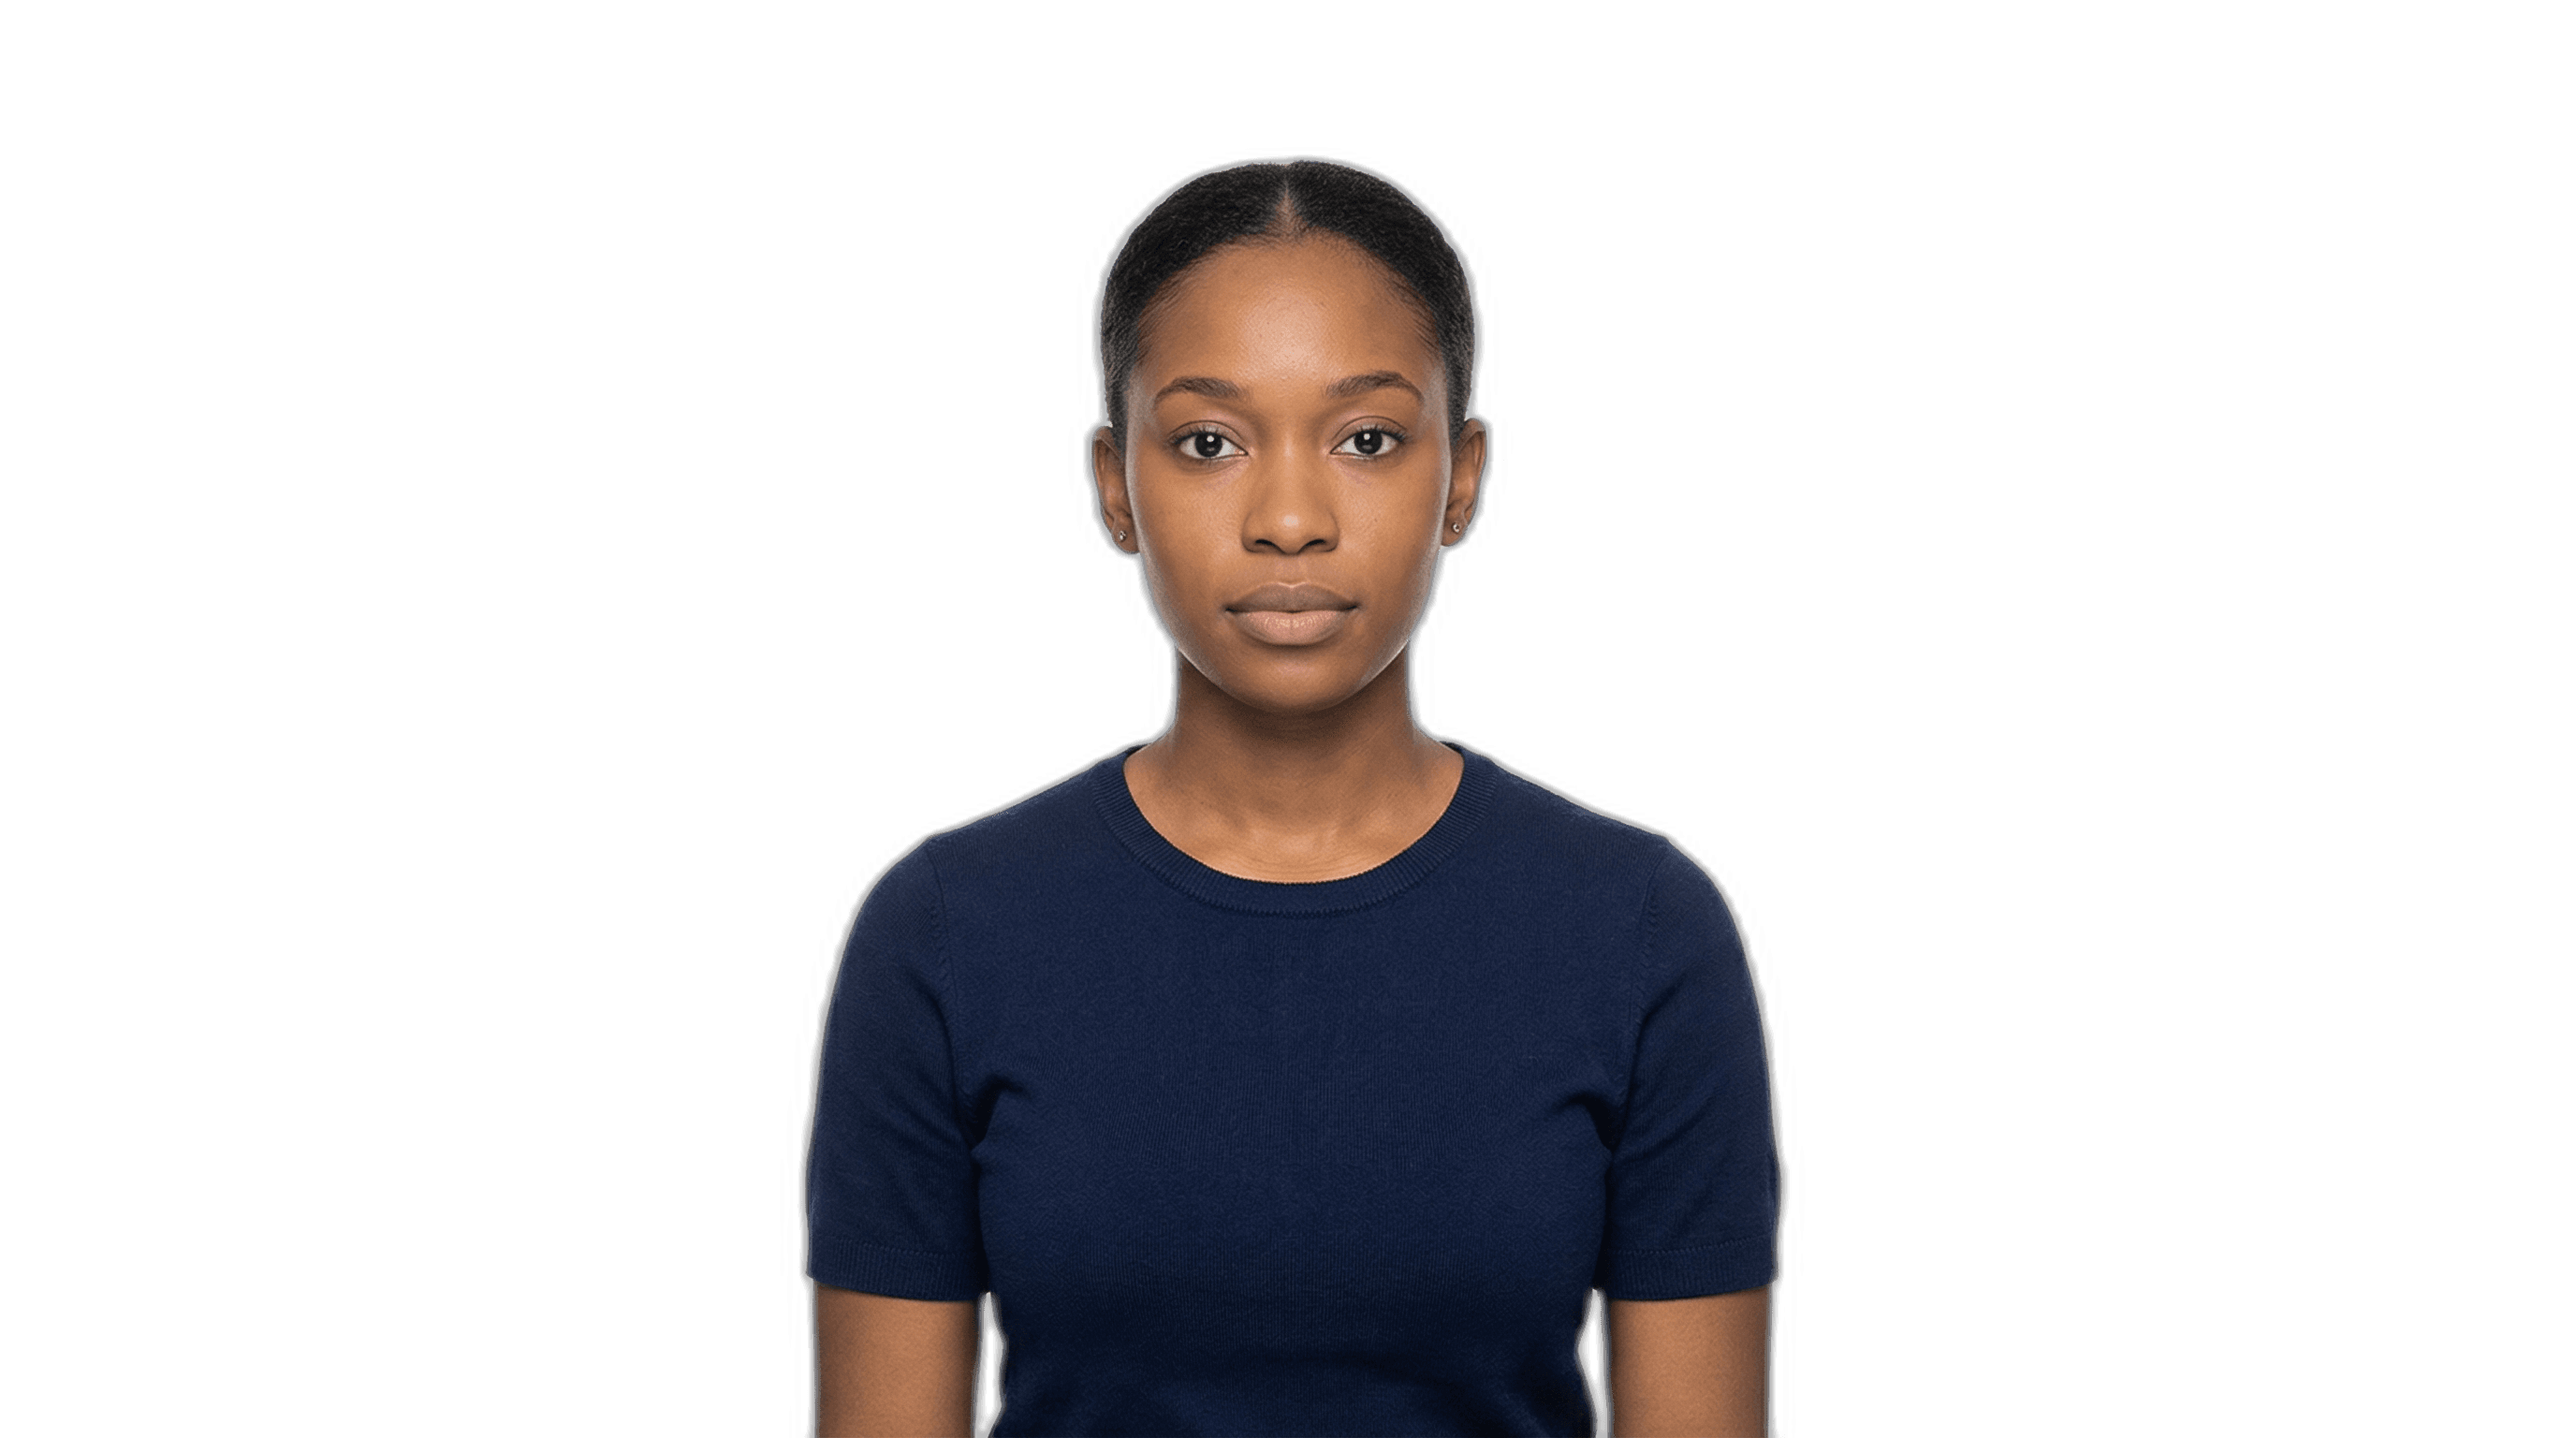
USCIS Photo Specifications
Before we get into how to take the photo, here’s what USCIS requires:
- Size: 2 x 2 inches (51 x 51 mm)
- Background: Plain white or off-white — no patterns, no shadows, no objects
- Recency: Taken within the last 6 months. The photo must reflect your current appearance.
- Head position: Face the camera directly with a neutral expression. Both eyes must be open.
- Head size: Your head (from chin to top of hair) should measure between 1 inch and 1 3/8 inches in the final printed photo.
- Color: Must be in color. Black and white photos are not accepted.
We handle all the formatting, cropping, and printing on our end. Your job is just to send us a good source photo. Here’s how to get it right.
What You’ll Need
- A digital camera with flash — your smartphone or tablet is absolutely sufficient. You don’t need professional equipment.
- A friend or a tripod — do NOT take a selfie. Selfies distort facial proportions and almost always get rejected. Find someone to take the photo for you, or prop your phone up on a stable surface.
- A plain, white or off-white wall — nothing else should be visible in the background. No furniture, no artwork, no other people.
- Good, even lighting — natural light works best. Avoid harsh overhead lighting or direct sunlight, which can create heavy shadows on your face or behind you on the wall.
How to Take the Photo
In order for us to correctly format and crop the photo, we need extra space around the person in the frame. Don’t zoom in tight on the face — give us room to work with. Here are the specifics:
- Stand straight up, facing the camera directly
- The camera should be at eye level — not taken from above or below
- Keep a neutral expression — no smiling, no frowning
- Your face must be clearly visible — no hair covering the face, no sunglasses
- If you wear clear-lens prescription glasses, make sure there’s no glare or reflections on the lenses, and the frames don’t obscure your eyes
- No hats or head coverings, except those worn for religious purposes — but even then, the full face oval must be clearly visible
Common Rejection Reasons
I’ve seen photos rejected for all sorts of reasons over the years. Here are the most common issues:
- Smiling or exaggerated expressions. USCIS requires a neutral expression. Even a slight smile can trigger a rejection.
- Shadows on the face or background. This usually happens with poor lighting or standing too close to the wall. Step about 3–4 feet away from the wall and use diffused, front-facing light.
- Photo is too dark or too bright. The image should be evenly lit with natural skin tones. Avoid using filters of any kind.
- Not enough space around the head. If the photo is cropped too tightly, we can’t format it to the correct 2x2 dimensions. Leave generous space around the head and shoulders.
- Hair covering the face. Pull hair back or to the side so your full face is visible from forehead to chin.
- Selfies. I can’t stress this enough. Selfies distort facial proportions due to the close camera distance and wide-angle lens. They are almost always unusable.
What About Glasses?
This comes up a lot. As of recent USCIS guidance, you should generally remove your glasses for the photo unless you have a documented medical reason for keeping them on. If you do wear glasses in the photo, clear-lens prescription glasses are the only option — no tinted lenses, no sunglasses. The glasses must not cause glare or reflections, and the frames cannot cover or obscure your eyes in any way.
My advice? Just take them off. It’s the simplest way to avoid an issue.
We Handle This for You
Here’s the good news: if you’re working with Occam Immigration, you don’t need to go to a drugstore or photo studio. We format, print, and attach your passport-style photos in our office at no extra charge. All you need to do is send us the digital source photo following the guidelines above.
It’s a small thing, but it’s one less errand for you to run — and one less thing that can go wrong. If your photo doesn’t look right, we’ll let you know before we use it. No surprises.
If you have questions about photo requirements for your specific application, feel free to reach out. We’re happy to help.